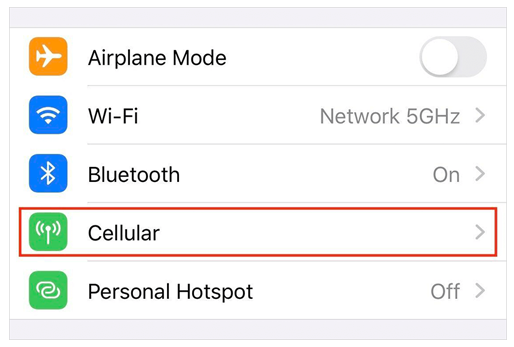
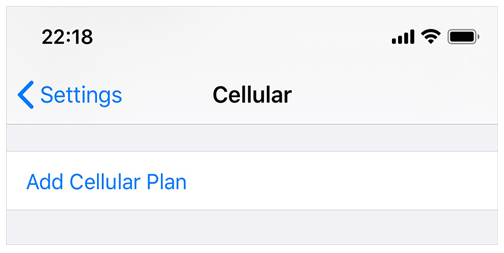
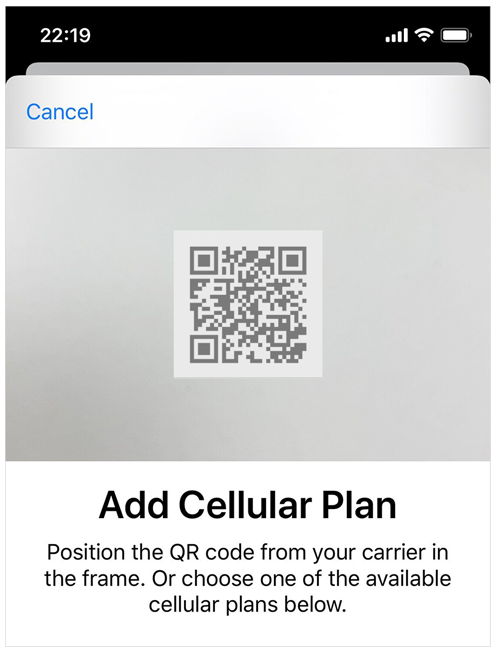
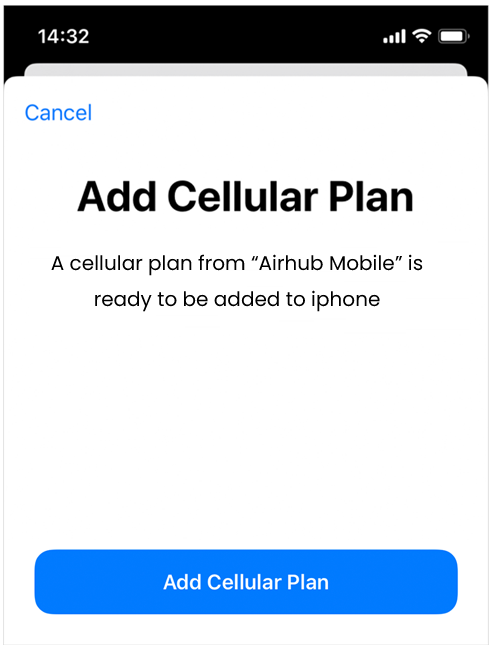
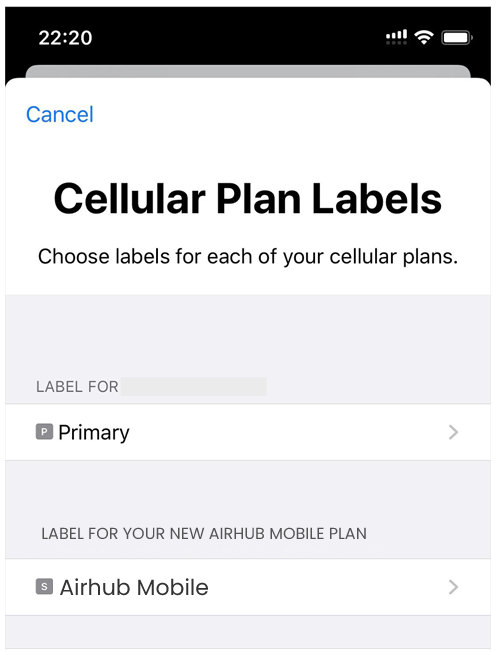
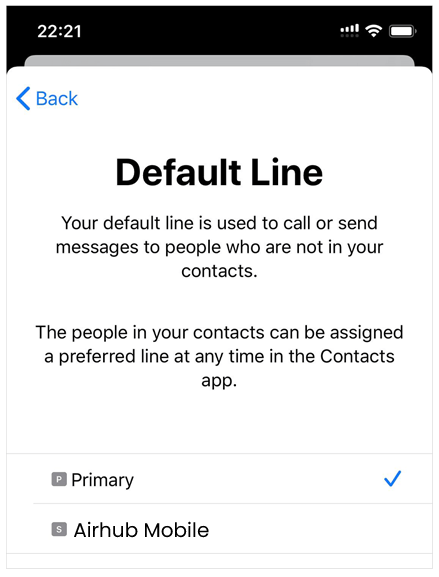
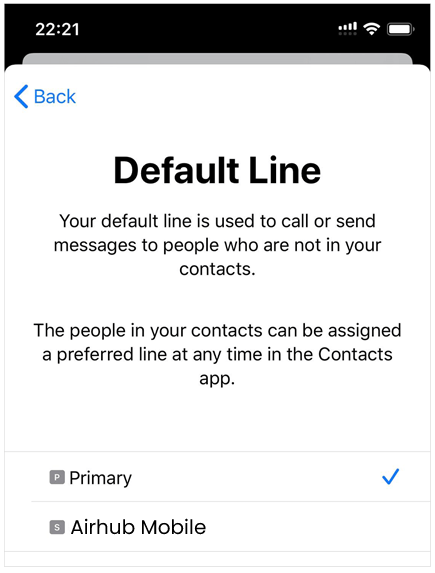
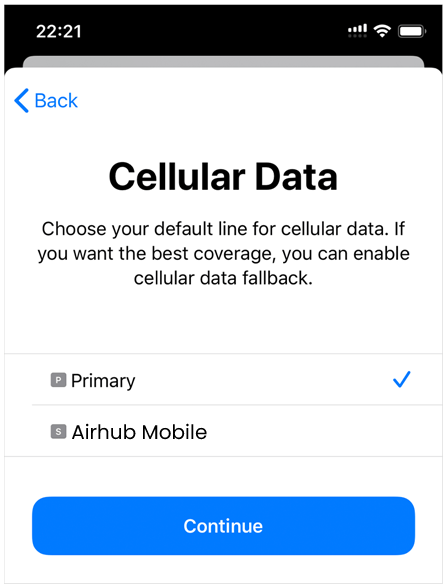
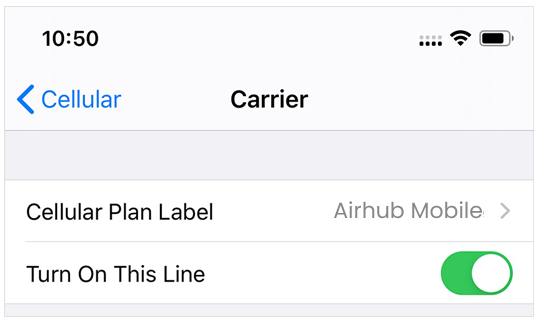
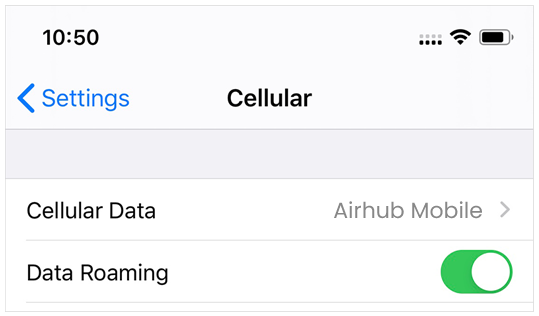
Get Started with eSIM – iPhone Step-by-step eSIM installation guidesFor iPhone running iOS 13. The actual texts or screen might be different depending on the iOS version and the device. 01 Tap Cellular or Mobile Data from SettingsMake sure your device is connected to a stable WiFi network. 02 Tap Add Cellular Plan 03 Scan QR code we provide* Internet connection required In case you have only one device and cannot scan the QR code, enter the activation code and SM-DP+ address manually.They are provided along with the QR code via email. 04 Tap Add Cellular PlanNote that you cannot go back or cancel after you tap it. 05 Enter “eSIM 2 Mobile” to label your new cellular planYou can change labels later in Settings. 06 Tap Update on Carrier Settings UpdateAPN (Access Point Name), which is required for Personal Hotspot, will be configured automatically by doing this step. 07 Choose Primary as your Default Line 08 Choose Primary for iMessage, FaceTime and Apple IDOr simply tap Continue without selecting any 09 Choose your default line for cellular dataSelect Primary unless you want to use Airhub Mobile eSIM immediately for cellular data. How To Use Airhub Mobile eSIM For Mobile DataFollow these steps after you arrive at your travel destination. 01 Turn on Airhub Mobile eSIM (Cellular Plan)Go to Settings > Cellular or Mobile Data and make sure Airhub Mobile eSIM is turned on. 02 Set it up for Cellular Data and turn Data Roaming onTap Cellular Data and assign Airhub Mobile eSIM. Also, enable Data Roaming.